Swagger UI를 Nuget에서 받아보시면, App_Start 에 SwaggerConfig.cs가 생깁니다.

그 cs 파일에 Register 함수 안에 기본(Basic) 인증, Api key , oAuth2 세 가지 인증(Authoirze) 구성이 있습니다.
저는 Swagger 페이지만 안들어가게 하고 싶을 뿐이였고, 사이트는 기본 인증을 베이스로 관리 페이지를 만들었습니다. Swagger Ui는 아래와 같은 URL로 만들어집니다.
http://{host}/swagger/ui/index
만약에 이 페이지를 못 들어가게 하고 싶다면 web.config에 아래와 같이 구성해주시면 됩니다.
<allow roles="{허용할 Role}"> // 기본인증 된 Role 중에 허용할 Role을 넣으시면 됩니다.
<deny users="*"> //모든 유저를 금지한다는 의미
<configuration>
  <location path="swagger">
    <system.web>
      <authorization>
        <allow roles="api"/>

        <deny users="*"/>
      </authorization>
    </system.web>
  </location>
</configuration>'.NET 개발 > ASP.NET Web API' 카테고리의 다른 글
| IIS Express 에 외부 IP 로 접근하기 (0) | 2016.08.24 |
|---|---|
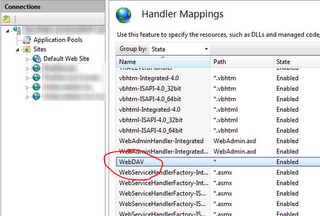
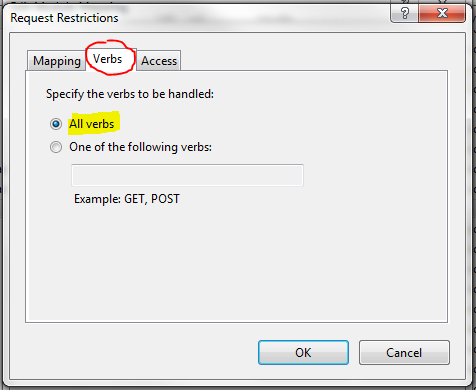
| Method Not Allowed 405 on IIS (0) | 2015.12.18 |
| @ViewBag is Not Working (0) | 2015.12.07 |
| ASP.NET API 부수적으로 알아야할 기능들. (0) | 2015.12.06 |
| Asp.Net Configuration Tool In Visual Studio 2013 (0) | 2015.07.15 |


 aspnetdbModel.edmx.sql